We’ve already posted a Strategy Guide that was a bit spoiler-free, but we’ve received some valuable feedback from female players who have become fans of Gen and Tauron. Apparently, some of them couldn’t continue playing Prologue: A Guardian Story for fear that they might miss something. So we came up with this secrets and exploits guide in order to make sure that you do not miss anything major.
Not all of the NPC quests are in this list, though. We concentrated on the ones that might be useful to optional boss battles and story routes. Here we go!
1. Completing the Coin Pieces
We’ve already hinted that completing the coin pieces and crafting the ultimate weapons before entering the Elemental World will open up the True Final Dungeon. Our previous tip to those who did not want to be spoiled is to EXPLORE every time Dr. Beam finds herself alone. Some of the coin pieces can be automatically gotten through the story, but there are some that are completely missable. They are:
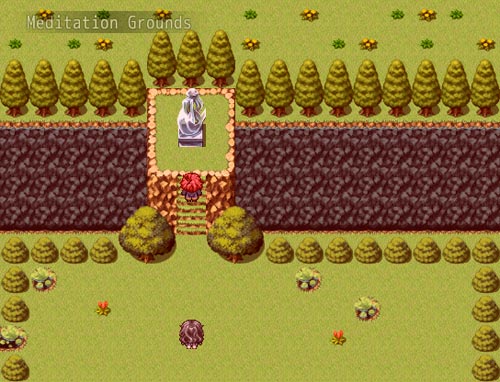
Re-visit the Meditation Grounds the first time Beam and the rest of the party separate. Arien’s 4th coin piece can be retrieved from the cut scene here. You’ll want to wait until you get Tauron’s 4th and Gen’s 2nd and 3rd Coin Pieces before you visit the NPC at Brother Andrew Café.

Once you find Beam alone for the first time, you’ll find Tauron at the University Entrance because there is a camp site there that allows him to enjoy nature. You can wait until you’ve gotten Gen’s 4th Coin Piece, but you can actually craft Tauron’s and Arien’s ultimate weapons as soon as you’ve completed 4 Coin Pieces.
You can get 2 Coin Pieces from Gen at this point as well. One can be retrieved from the library when you talk to Dr. Joyce.

Gen’s 3rd is a little bit trickier to find, especially for players who do not go back to previous locations to talk to NPCs. To find the 3rd, you’ll need to help out Lecturer Noah in his quest to find senpai. Talk to Lecturer Noah to activate the quest.
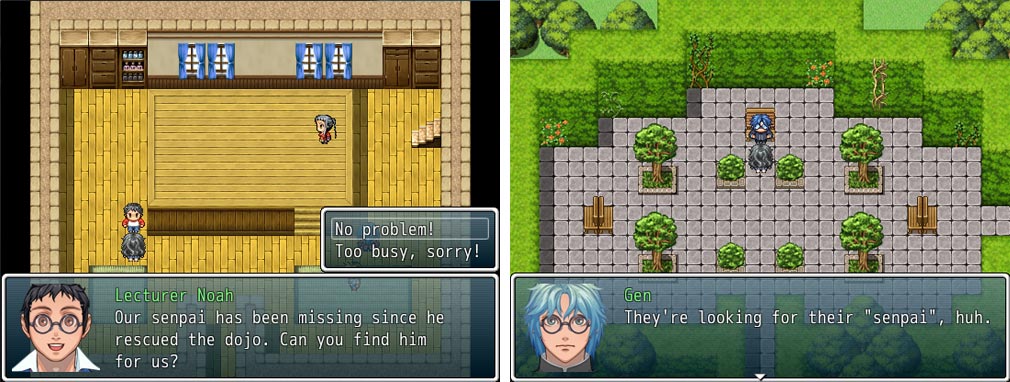
Go to Plaza Villarosa and you will find Gen there. He will challenge you. Fight him. Once the battle is over, he’ll give you the coin and then you can go back to Noah to receive your reward. The problem you might encounter in this quest is that you will be alone when you fight Gen. The easiest way to go about this is to equip Regen Earrings (you can either buy them from Sarvi or do the Teenage Love quest), then make sure you get enough SP (by getting hit, drinking Vanilla Frapuccino, or eating Red Velvet Cake) to activate Tiger Stance. Tiger Stance allows you to deflect and counterattack physical blows for a few turns so you can concentrate on healing.
The rest of the Coin Pieces not mentioned here are automatically given by the story. Once you’ve completed each of your party members’ Coin Pieces (you need 4 for each member), go to the NPC in Brother Andrew Café and have her assemble the coins. When you have reunited with your party members, go to Tauron’s workshop and approach his table.
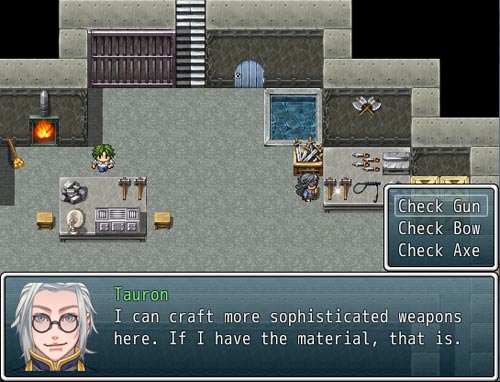
Have him craft level S versions of the bow, the axe and the spear (a.k.a. your ultimate weapons), and then go back to the NPC at the café. Once she sees that you have all three weapons, she will give you Beam’s final Coin Piece. Talk to her again to assemble Beam’s Coin and then go back to the workshop to have Tauron craft Beam’s final gun.
If you’ve completed all of this before you enter the Elemental Dungeon, you will unlock the true final dungeon.
2. Money Trick
Money can usually be earned in this game by selling Junk to the Storage Guy, Sarvi or Grey. But the easiest trick, which we’ve nerfed because it can be abused, is to:
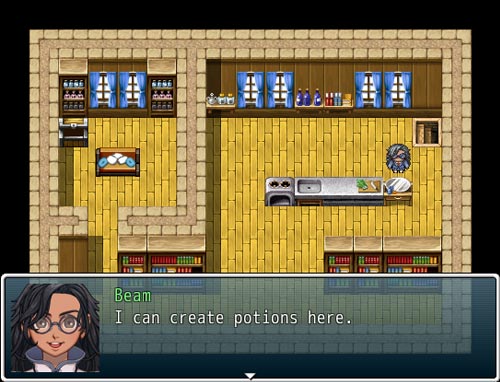
Buy as many Potions as you can. Climb up to Beam’s laboratory and craft all of it into Hi-Potions. Sell the Hi-Potions to the Storage Guy, Sarvi or Grey and you will notice that you’ve actually made a bit of profit from each Hi-Potion.
3. Useful Equipment
There are some accessories that make it easier to deal with boss battles, especially the optional ones that love to spam status effects. But let’s start with those that will make enemy encounters less annoying.
Regen Earrings + Half Enemy Encounter
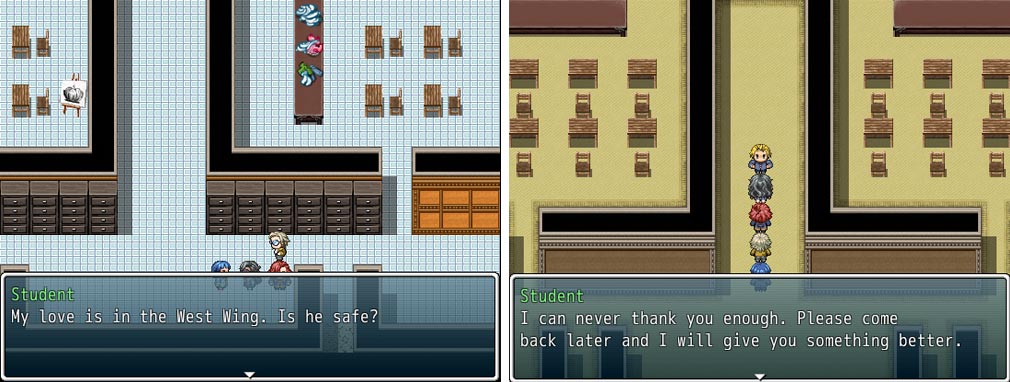
There are two lovebirds torn apart by the darkness that has befallen the university. The boy can be found in the School of Business while the girl can be found in School of the Arts. This quest opens up when you’ve freed the latter. Talk to the girl, then the boy. He will give you Regen Earrings. If you return to him after rescuing the Faculty Building, he will give you Bunny Ears. Equipped, the Bunny Ears will bring down your enemy encounter to half.
Nullify Status Effects
The Senior Student at Gen’s Room allows you to catch up on the levels, especially for Tauron, who will still be the lowest leveled even at this point. (He’s your hardest hitter anyway, so it’s not much of a problem having him at low levels.) Training here yields tokens for each party member you’ve trained. For every 99 tokens you collect for each member (for example: Tauron Tokens x99), the Senior Student will give you an Angel’s Headgear. It’s best to have 4 of these when fighting the bosses in the Elemental World and the true Final Dungeon because it protects against ALL status attacks.
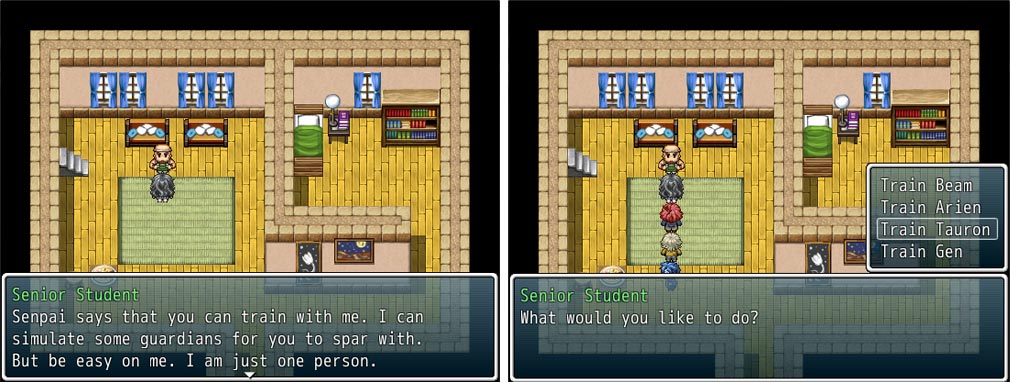
There are four simulated Guardians that you can fight and the fourth yields the most number of tokens (12).
4. Optional Bosses
The first optional bosses you can encounter appears when Beam separates from her team the first time. You can either fight her alone or wait till you’ve already regrouped. To unlock the boss, talk to the red-haired student in the School of Technology.
Monster in the Dorm
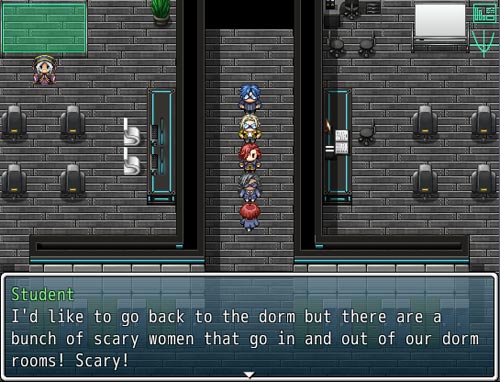
This will require a bit of walking back and forth, so let’s outline what you need to do:
- Talk to the red-haired kid in the School of Technology.
- Go to the dorm to fight the boss. Strategy: Use Beam’s Venom Shower to poison the succubi assistants and concentrate on one target at a time.
- Go back to the School of Technology and talk to the kid again.
- Go back to the dorm to get your reward.
Queen Tricia’s Bee and St. Marlon’s Dragon
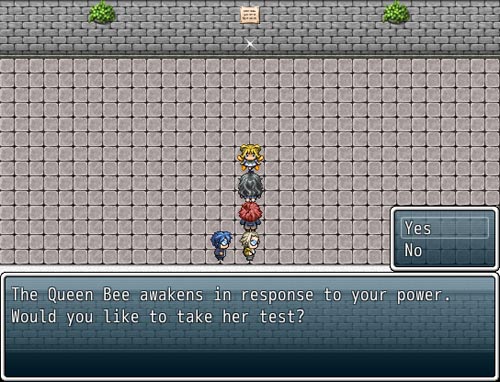
Queen Tricia and St. Marlon, both found in the bowels of the True Final Dungeon, were actually named after our most diligent QA testers. Marlon enjoyed grinding too much that he was already auto-battling the bosses. So we created these two optional bosses for him.
In order to activate these two, Dr. Beam must be at level 50. It’s easier to fight these optional bosses AFTER defeating the game’s final boss because the final boss’ loot is a powerful accessory (Claire’s Locket) that dramatically boosts the wearer’s stats.

Strategy: Equip Claire’s Locket on Arien. Equip the rest with Regen Earrings. Equip everyone with Angel’s Headgears. Spam boss with Beam’s Venom Shower until poisoned. Weaken boss using each character’s ultimate magic: Siren’s Wrath, Gerra Inferno, Gaius Rage, Aurai Torment. If you’ve earned enough SP, spam the boss with your most powerful physical attacks. These bosses heal themselves too much, 14K HP for the Queen Bee and 20+K HP for St. Marlon, so you will need to poison them in order to make sure that your damage goes beyond 10-15K per turn.
5. Other Secrets
Well, some of these secrets are story-based, in case you want to know more about Gen or Tauron. Some of the dialogues in the game change depending on who you’re with. You can talk to NPCs to know more about your favorite characters, like Arien (his fans are in the School of the Arts).
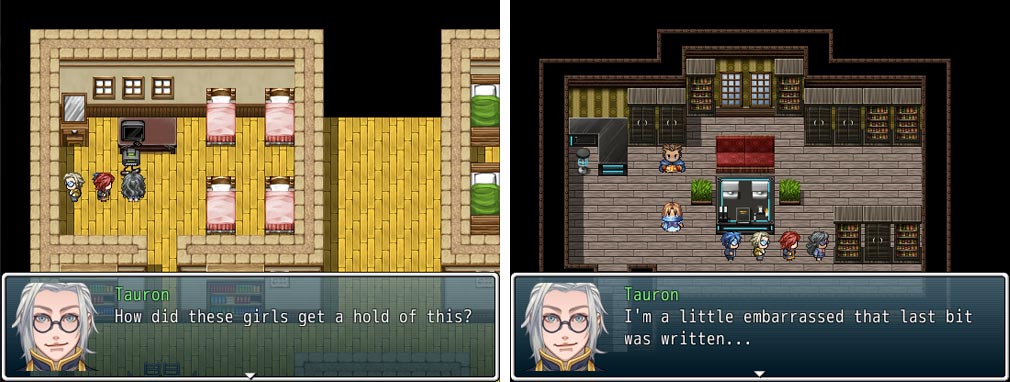
For instance, you can’t poke around all of Gen’s stuff when he’s around. But you can when he’s not.

And there are some policy manuals that talk about Tauron being one of the most prolific professors in the university. He’s actually embarrassed by this fact.
As for other tips and tricks you can explore throughout the game:

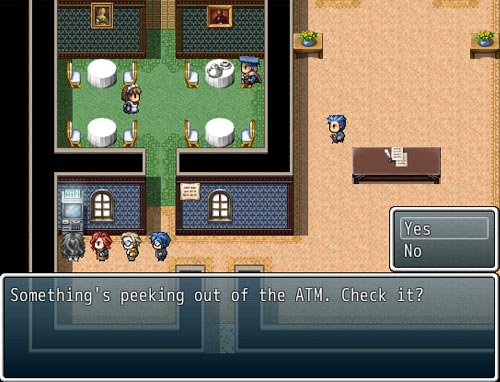
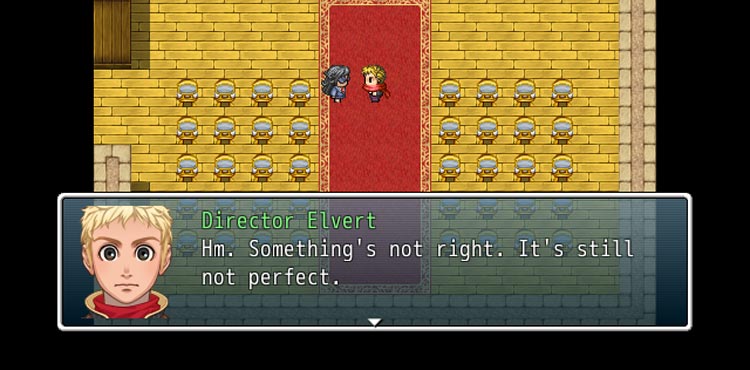
About this hotel: The actor that Director Elvert will want to hire resides at the second floor of this building. There are also sources of cash on the first floor, so try not to miss that.
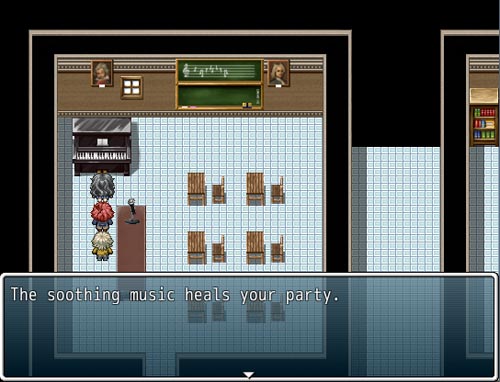
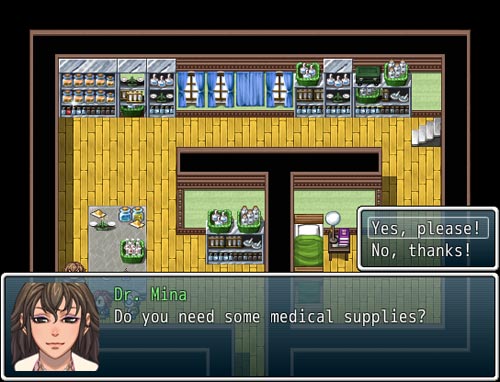
If you haven’t discovered that you can recover your party in the Apothecary’s Shop, well now you know. There’s a healing source in all of the wings in this university.
One of the things that can be annoying about this game are the floor traps. But there are times when they are useful, especially in the dungeon below the Faculty Building/President’s Office. Since you are using elevators to go up and down, once you activate an exit, all you need to do is fall into a hole on the floor to find yourself near an elevator. No need to retrace your steps through a maze. You can also use the vines in this area to shorten your walk.
Well, so far these are the things that could make your gameplay experience easier. As previously mentioned, we’re not putting everything in here so we can still leave room for you to explore. Bottom line is: talk to NPCs. There will also be times when you’ll have to revisit conversations because some of them will be so grateful, they will be giving away items before you face the last non-optional two bosses.
Anyway, enjoy!